
Printer Setup Guide
1. Unbox & Prepare the Printer
- Remove all packaging materials.
- Place the printer on a stable surface near your computer or Wi-Fi router.
- Plug in the power cord and turn the printer on.
2. Install Ink or Toner
- Open the ink/toner compartment.
- Insert the cartridges provided with the printer.
- Close the cover and allow the printer to initialize.
3. Load Paper
- Pull out the paper tray.
- Adjust the paper guides.
- Load paper and reinsert the tray.
4. Connect the Printer
A. Wireless (Wi-Fi)
- Go to Settings → Network → Wi-Fi Setup on the printer display.
- Choose your Wi-Fi network and enter the password.
- Wait for connection confirmation.
B. USB Connection
- Plug the USB cable into the printer and your computer.
- Your computer should auto-detect and install necessary drivers.
5. Install Printer Drivers / Software
Windows
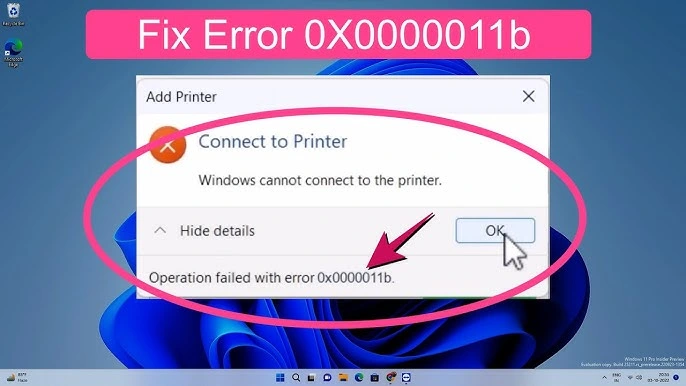
- Open Settings → Bluetooth & devices → Printers & scanners.
- Click Add device and select your printer.
- Download drivers if prompted.
Mac
- Go to System Settings → Printers & Scanners.
- Click + Add Printer and choose your device.
6. Print a Test Page
- Windows: Printer Settings → Print a test page
- Mac: Options → Print Test Page
7. Optional Setup
- Mobile printing: Install brand apps (HP Smart, Canon PRINT, Epson iPrint, Brother iPrint&Scan).
- Scanning: Use the printer’s app or built-in scanner tools.
- AirPrint (Apple): Works automatically on the same Wi-Fi network.